How to configure mail settings in Bold BI to receive notification through mail
Published:
Users can get notifications about scheduled actions in Bold BI by email. To send email, you need to configure email settings in Bold BI. This topic explains how to configure email settings in Bold BI and get confirmation of the activities on the mail report.
Configure email settings in Bold BI
You need to configure SMTP details in the Bold BI Server to send emails, as explained on this link. Users can also track whether the email was sent to the recipients or not using the email activity logs. Logs contain information about each email, including the sender and recipient, date and time, status, and any associated error messages.Create schedules in Bold BI
Dashboards can be configured to run at scheduled times, exported as images, and then mailed to the users in the dashboard server. Follow this link to check how to add, edit, and delete the schedules in the Bold BI.Making schedules to run on demand
Dashboard export can be made to run on demand by using the Run Now option in the schedule grid context menu. Dashboards get exported in the format specified and sent to the recipients along with the link to the dashboard in the Bold BI by emails.NOTE: Dashboard export can also be scheduled to occur at selected time intervals, as explained here.
Follow these steps to make schedules run on demand:
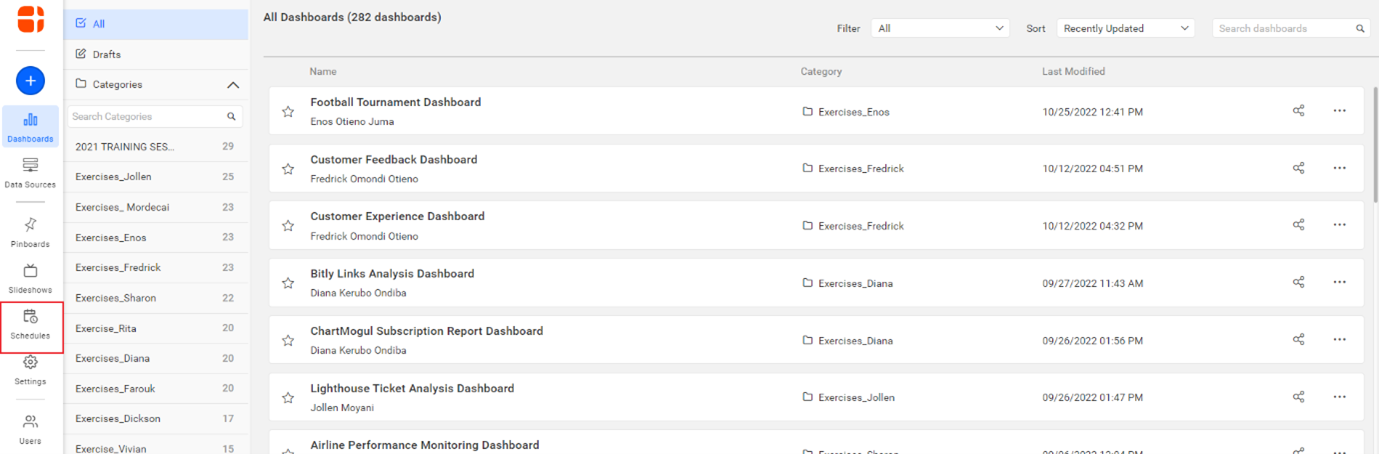
- Click Schedules to navigate to the schedule listing page.
- Click Actionsin the grid context menu of the schedule item, which needs to be exported, and select Run Now.

- Click Run History to view the corresponding schedule status information in the schedule grid context menu.
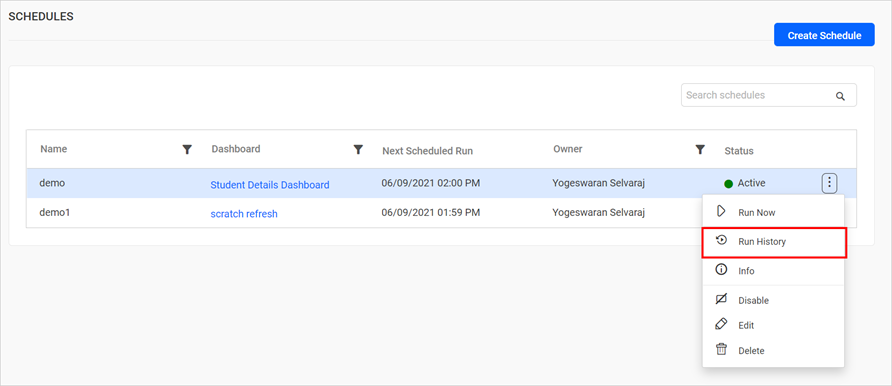
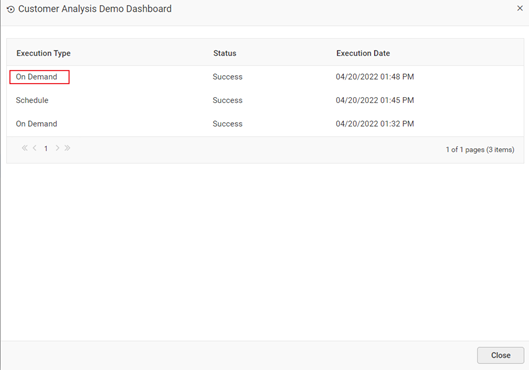
NOTE: Failure information can also be seen by clicking the failed link in the run history dialog box.

How to get confirmation on an email sent
The email activity logs only show the status of whether the email was sent from the Bold BI server to your SMTP-configured server or not. If an email is sent from the Bold BI to your SMTP server, but the SMTP server is unable to deliver the email to the recipient, then the logs will not be shown.Follow these steps to view the email sent status:
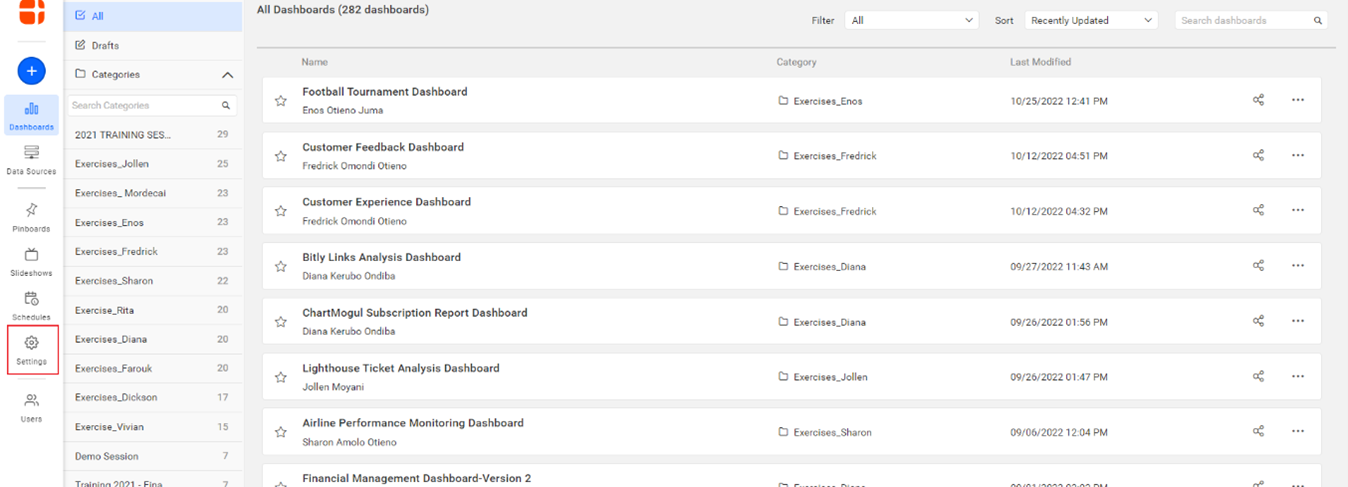
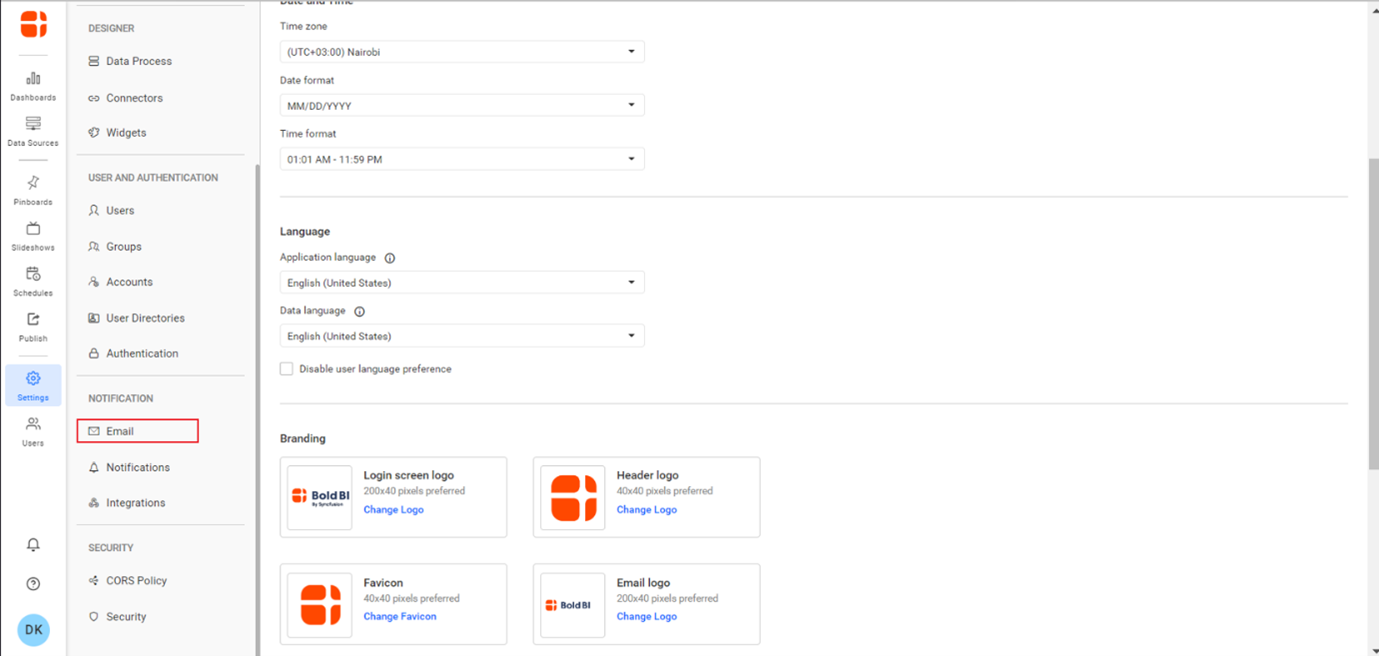
- Click Settings icon to navigate to the settings page.
- On the settings page, click Email to proceed to email settings.
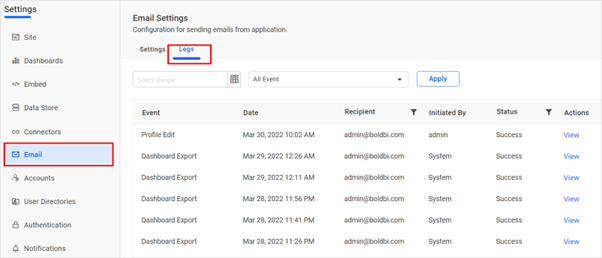
- Click Logs to view information on each event in the mail.
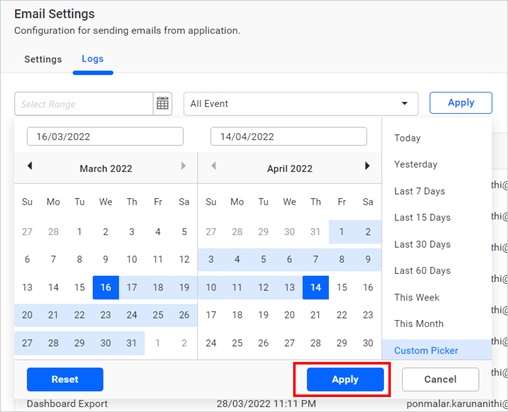
Steps to view email logs for a specific date and Dashboard Export
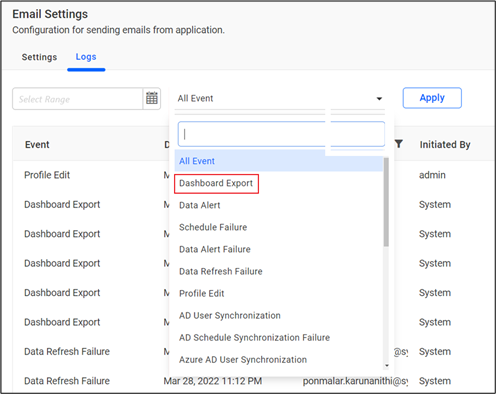
- Open the Email Event drop-down and select Dashboard Export. The default event is All Event.
- Open the Date Picker Calendar to select a specific date range. Select the certain date range that you want to filter.
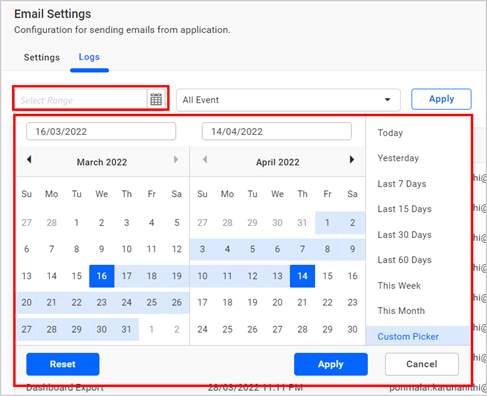
- Click Apply to apply the date range, as shown in the following image.
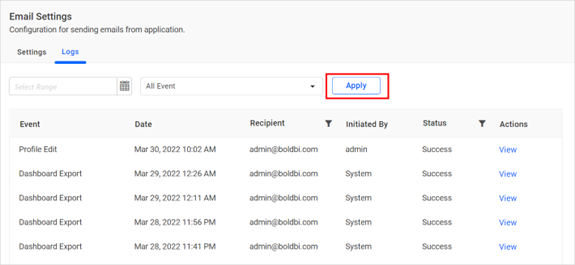
- Finally, click Apply link to see the email activity logs for the selected date range and event.
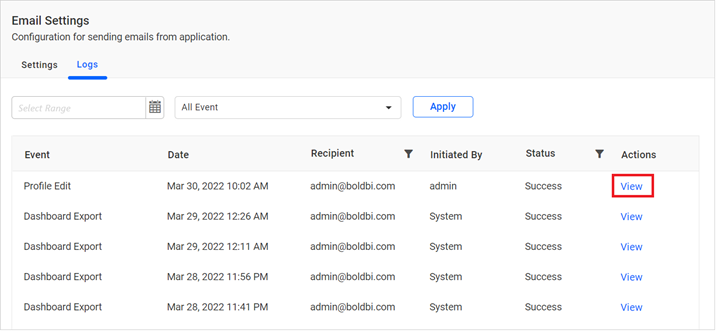
- Click View to check the email information which was sent and the failure reason for the failed items.
Additional information
Dashboard export can also be scheduled on the FTP location or Webhook Notification.Related links
EO

