How to create a dashboard & update with production data?
Published:
Creating data source with test data
- Open the “BoldBI” application.
- Click “Data Sources” on the left panel of the application.
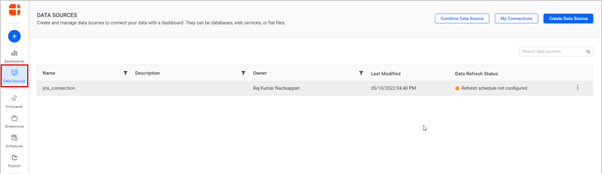
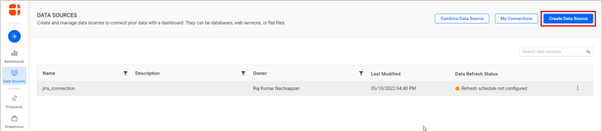
- Click “Create Data Source” at the top right corner and select “Excel” data source.
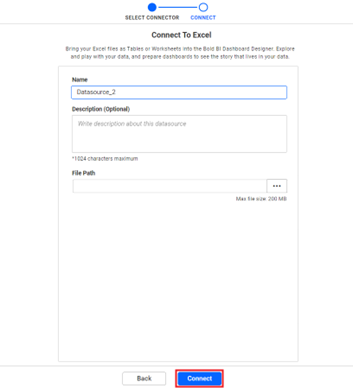
- Choose the file path of the test data and click “Connect.”
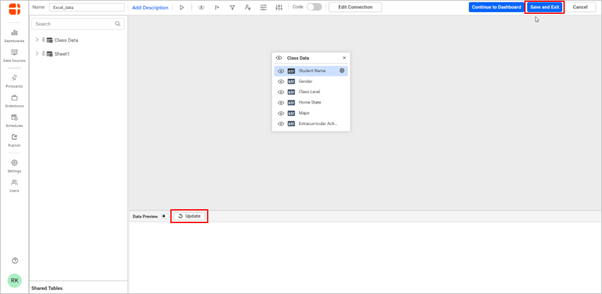
- Click on “Update” to see the preview of the data and test data.
- Click “Save and Exit” at the top right corner.
- Created data source will be listed on the data source listing page.
Creating a dashboard with test data
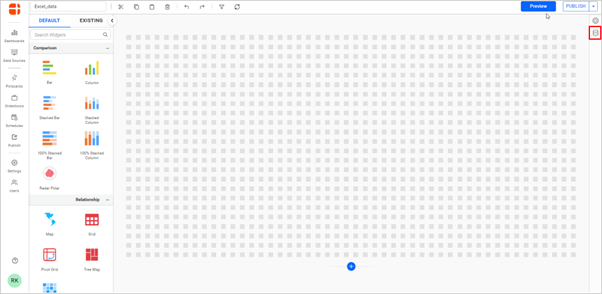
- To create a dashboard page, click the plus (+) icon, select “Start from Scratch” and give the dashboard's name.


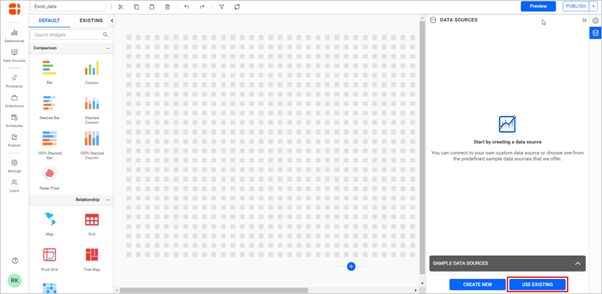
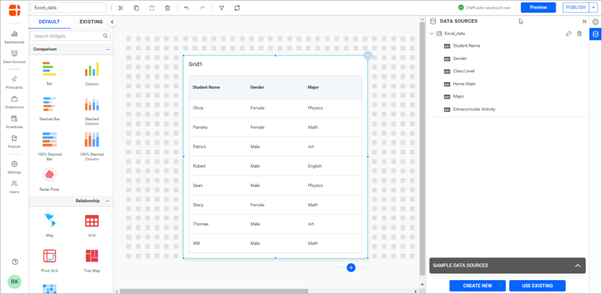
- To import an existing data source and use widgets, click “Data Source” below the settings icon.
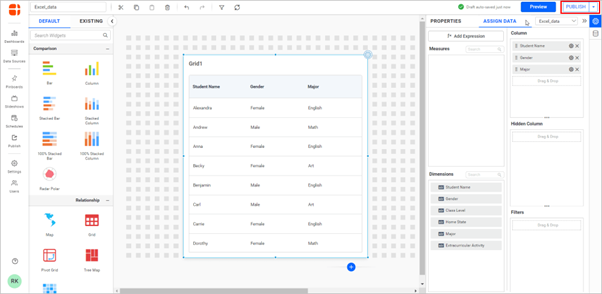
- Click “USE EXISTING” and add the data source. Drag and drop the appropriate widget.
- Assign data to the widget by dragging and dropping the data to columns in the settings of widgets.
- Click “Publish” to publish the dashboard with test data.
Steps to replace test data with production data
- After publishing the dashboard, edit the data source of the dashboard by selecting the edit icon on the dashboard toolbar.

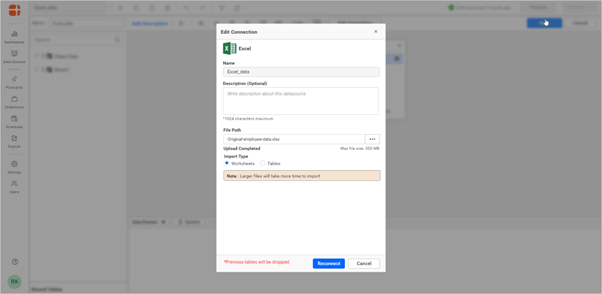
- It will navigate the data source designer page by clicking edit and do changes by clicking “Edit Connection”.
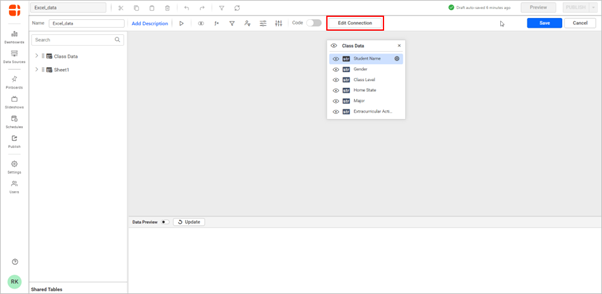
- In the “Edit Connection” window, upload the Excel file with production data and connect it.
- After Saving new tables, the values on the widget are replaced by new table values, which can be seen.
NOTE: To avoid data loss while replacing production data, ensure the column name and sheet name of the production data is the same as test data.
Related links
RN

