How to import users from database into Bold BI
Published:
Bold BI provides an option to import new users from an existing database.
NOTE: Only users under the System Administrator can import users from the database into Bold BI.
Importing new users from an existing database to Bold BI
Follow these steps to import new users from an existing database into Bold BI.- Open the “Bold BI” application.
- Click on users on the left pane of the Bold BI application.
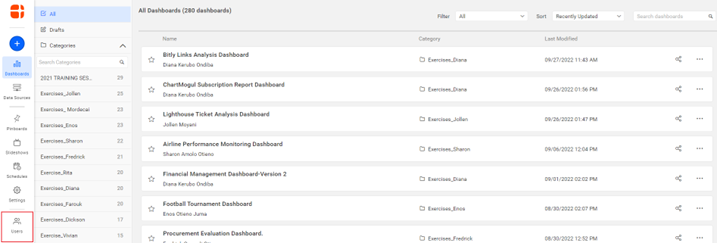
Bold BI Server Page - Click on New User, and the drop-down list will open.

Users Page - On the drop-down list, click Import from Database.

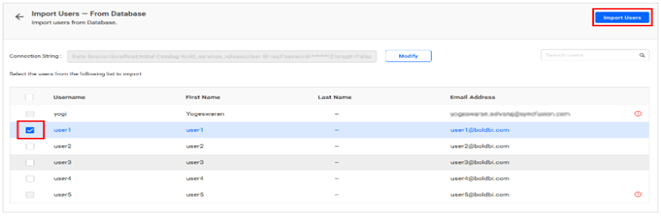
Import Users from Database - From the database retrieved data, select the users to be imported, then click Import Users.
Users list to import - A confirmation message will be displayed as follows to confirm the successful import of the users into Bold BI.
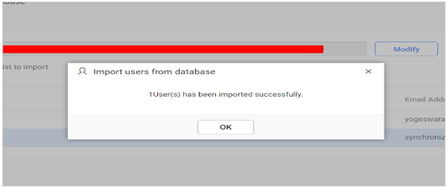
Users Imported - The Import Users page appears as follows.
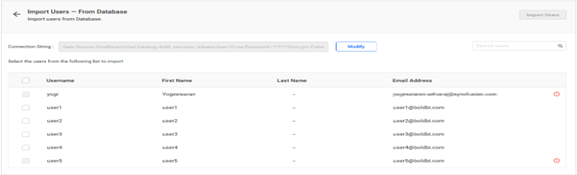
Imported Users list
Mapping the imported users to an existing database
After importing users from an existing database, Bold BI provides an option to synchronize the imported existing database users’ details with the existing database.Follow these steps to synchronize the imported users from the existing database.
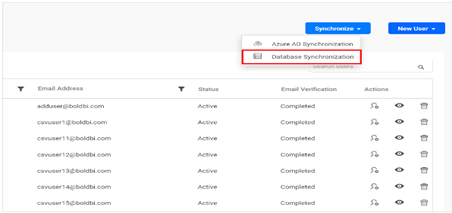
- Navigate to the user synchronization page from the user page, click Synchronize, and the drop-down list will open. Then click Database Synchronization from the drop-down list.
To Synchronize Users - From the Database User Synchronization page, select the users to be synchronized, then click Synchronize at the top. The Imported User details will be synchronized with the existing database users in Bold BI.
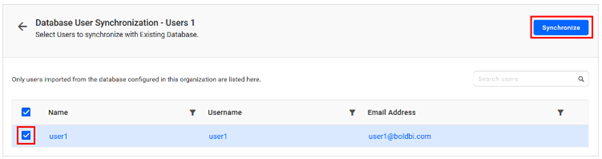
Users Synchronization page NOTE: Bold BI will delete the user if the user has been deleted from the existing Database.
- A confirmation message will be displayed that shows the number of users modified, deleted, or duplicated as shown in the success message box in the following figure to confirm the successful Database Synchronization.
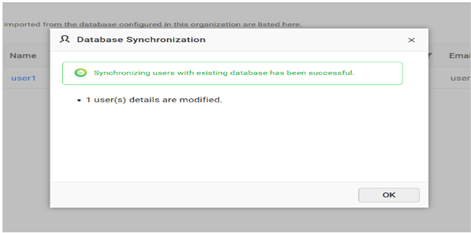
Database Synchronization Notification NOTE: The existing database users with the same username or email address as the Bold BI users will be marked as duplicate users and will not be synchronized with the imported existing database users.
Providing permissions to the imported user
Follow these steps to provide permissions to the users imported to the application.- Click the action menu on the right side of the users’ page to manage the users’ permission on the application.
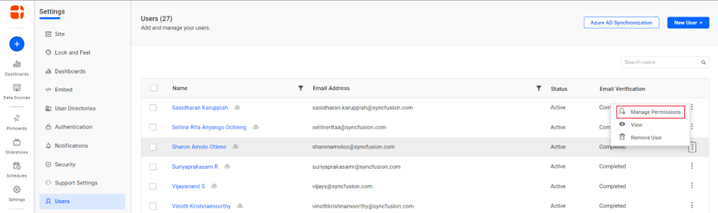
Users Page - Navigate to the selected users’ page and click Add Permission.

To provide permission - Select the permissions to be added on the pop-up permission window, then click Add
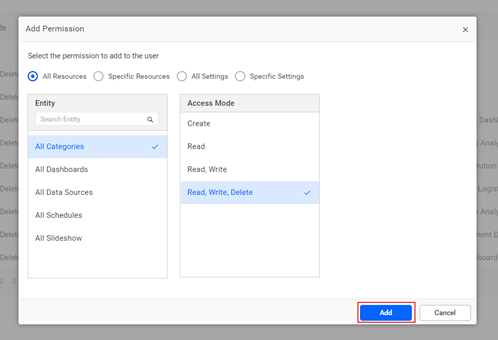
Permission list
Related links
RN

